
What Is Clarity Pro Upscaler?
Clarity Pro Upscaler is a creative AI image upscaler built for turning small, soft, or AI-generated images into larger, sharper, more usable assets. The practical value is not only that it can enlarge an image. It also reconstructs texture, edge detail, and photographic surface in a way that a basic resize tool cannot.
That makes clarity pro upscaler useful when the source image is almost good enough but falls short on resolution: a product image that needs cleaner detail, a portrait that needs a larger crop, a concept image that needs to survive a 4K layout, or a social asset that needs to be repurposed for a sharper placement.
The important caveat is that it is a creative upscaler, not a forensic recovery tool. Like other modern super-resolution systems, it can infer plausible detail that was not literally present in the source. That is a strength for visual polish and a risk for identity-critical, legal, archival, or documentation use cases.
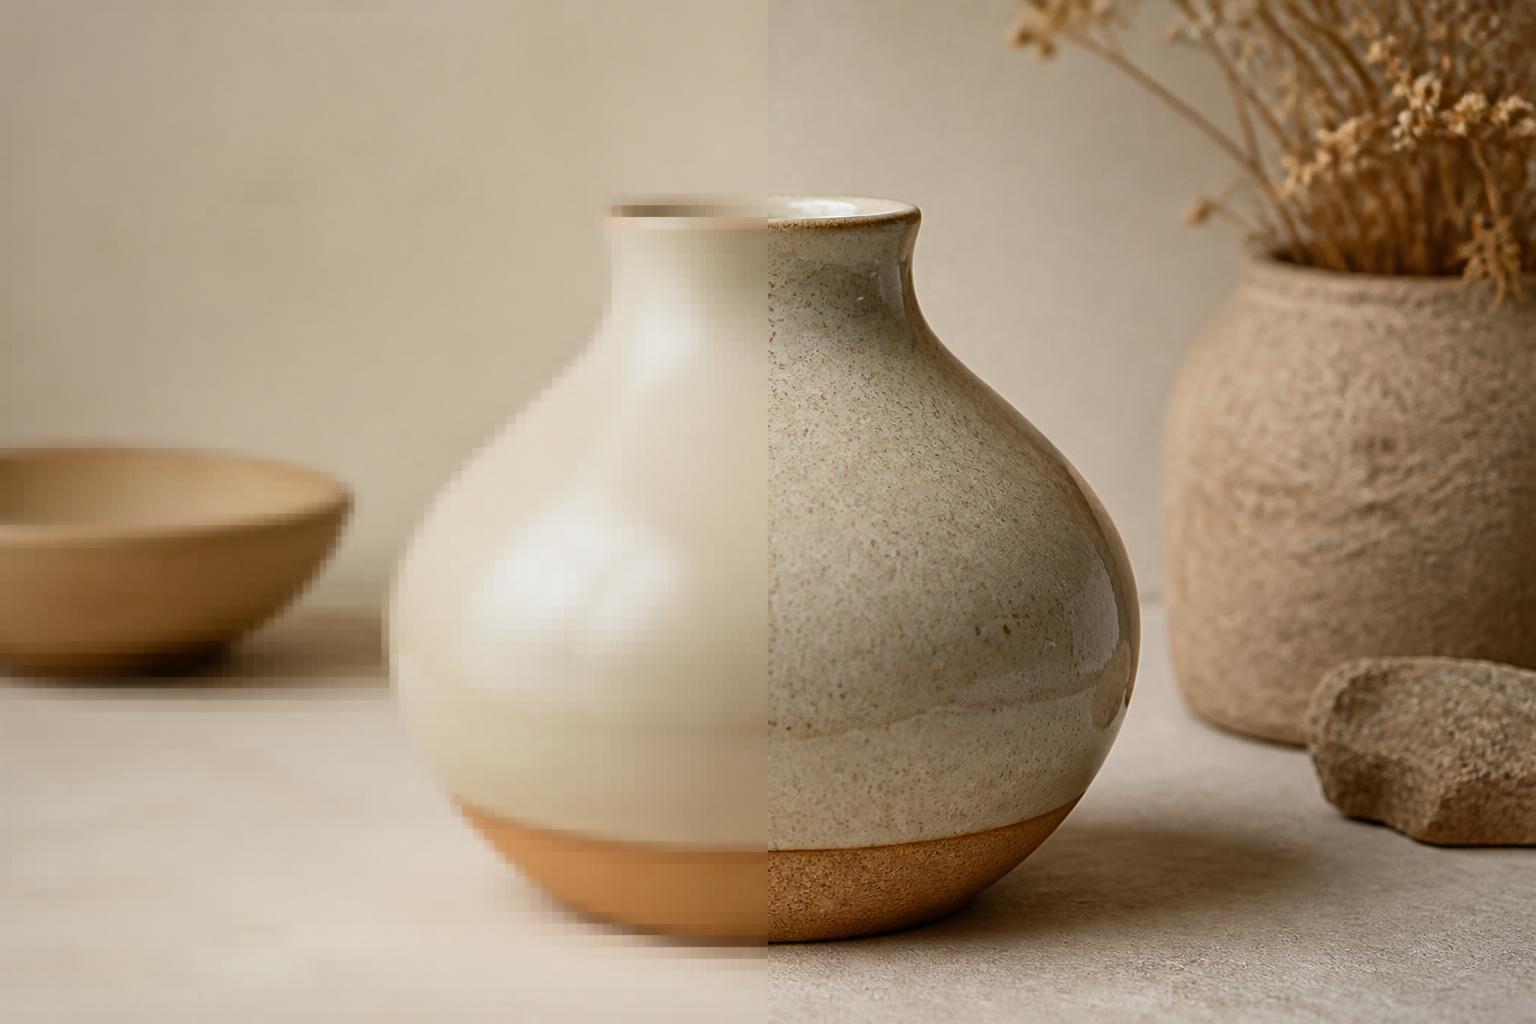
The Core Idea: Upscaling Plus Reconstruction
Traditional upscaling increases pixel dimensions and tries to keep edges from looking jagged. A creative AI upscaler goes further: it predicts missing detail from visual context. That can turn fuzzy cloth into believable weave, soft metal into cleaner reflections, and low-detail foliage into a more natural scene.
This is why Clarity Pro Upscaler sits in a different category from ordinary bicubic enlargement. The Replicate model page describes it as a photorealistic creative upscaler with high identity preservation and support for scale factors up to 16x, subject to megapixel limits. WaveSpeed's Clarity AI Pro Upscaler API page presents a similar positioning for production API use, with controls such as creativity and target megapixels.
The trade-off is the same one discussed in super-resolution research: higher perceptual realism can come with invented high-frequency detail. The SRGAN paper helped popularize perceptual super-resolution, while later work such as Real-ESRGAN focuses on practical restoration for real-world degraded images. For marketers, designers, ecommerce teams, and AI image creators, the lesson is simple: use the result when visual plausibility matters, and inspect it carefully when factual fidelity matters.
Where Clarity Pro Upscaler Creates Value
It Turns Near-Miss Images Into Usable Assets
Many image problems are not creative failures. They are production mismatches. The image looks right, but it is too small for the page, too soft for a crop, or too compressed for a design handoff. Clarity Pro Upscaler can give teams a larger master image without sending the asset back through the entire creative pipeline.
That is especially valuable when the original file is unavailable, the design deadline is close, or an AI-generated image has the right composition but not enough detail for a hero section, marketplace listing, or editorial image.
It Reduces Manual Retouching Time
Human retouching is still the best choice when every pixel matters, but not every asset deserves a full manual pass. A good clarity upscaler workflow can handle the first heavy lift: enlarge, sharpen, and rebuild believable detail. The human review then focuses on the final judgment calls: faces, hands, product edges, brand marks, reflective surfaces, and any area where distortion would be obvious.
It Gives Creative Control Instead Of One Fixed Result
The most useful control is usually creativity. Lower creativity is better when you want to preserve the original structure. Higher creativity can produce more dramatic textures and richer detail, but it also raises the chance that the model will reinterpret surfaces, facial features, small objects, or symbols.
For commercial work, the best setting is rarely "as much as possible." A restrained clarity pro upscale often looks more professional because it preserves the source image's intent instead of making every texture shout.
It Helps Teams Reuse Images Across Formats
A single image often needs to travel through many placements: web hero, blog thumbnail, app store asset, email banner, social crop, presentation slide, and sometimes a print-adjacent layout. Upscaling gives the designer more room to crop, reposition, and export without visible softness.
How The Main Settings Affect The Result
Scale Factor
Scale factor answers a simple question: how many times larger should the output be? A 2x upscale is conservative. A 4x upscale is common for turning small web images into cleaner design assets. An 8x or 16x upscale can be useful, but it also gives the model more missing information to invent.
Use larger factors when the image is simple, clean, and visually forgiving. Use smaller factors when the image contains faces, text-like shapes, product geometry, or precise details.
Target Megapixels
Some APIs expose target megapixels instead of, or alongside, scale factor. That is often easier for production work because the output can be planned around the final use. For example, a blog hero, 4K design export, and print-adjacent poster have different practical needs.
The useful question is not "Can I make this huge?" It is "How large does this image need to be before extra pixels stop helping?" Bigger files cost more to store, transfer, edit, and review. The best output size is the smallest size that gives the downstream workflow enough room.
Creativity
Creativity changes how aggressively the model reconstructs missing detail.
| Setting approach | Best fit | Main risk |
|---|---|---|
| Low creativity | Portraits, products, clean source images, brand-sensitive work | May look less dramatic |
| Medium creativity | Editorial visuals, AI art, ecommerce lifestyle imagery | Small details may shift |
| High creativity | Concept art, stylized scenes, heavily degraded images | Invented detail, changed identity, unrealistic surfaces |
If you are unsure, start lower. Increase creativity only after checking whether the first output preserved the parts of the image that matter.
Output Format
JPEG is usually practical for web publishing and marketing images. PNG is better when you need lossless handoff, sharper edges, or further editing. For large upscaled assets, format choice also affects file size and page performance, so do not export PNG by habit if the final use is a compressed web image.
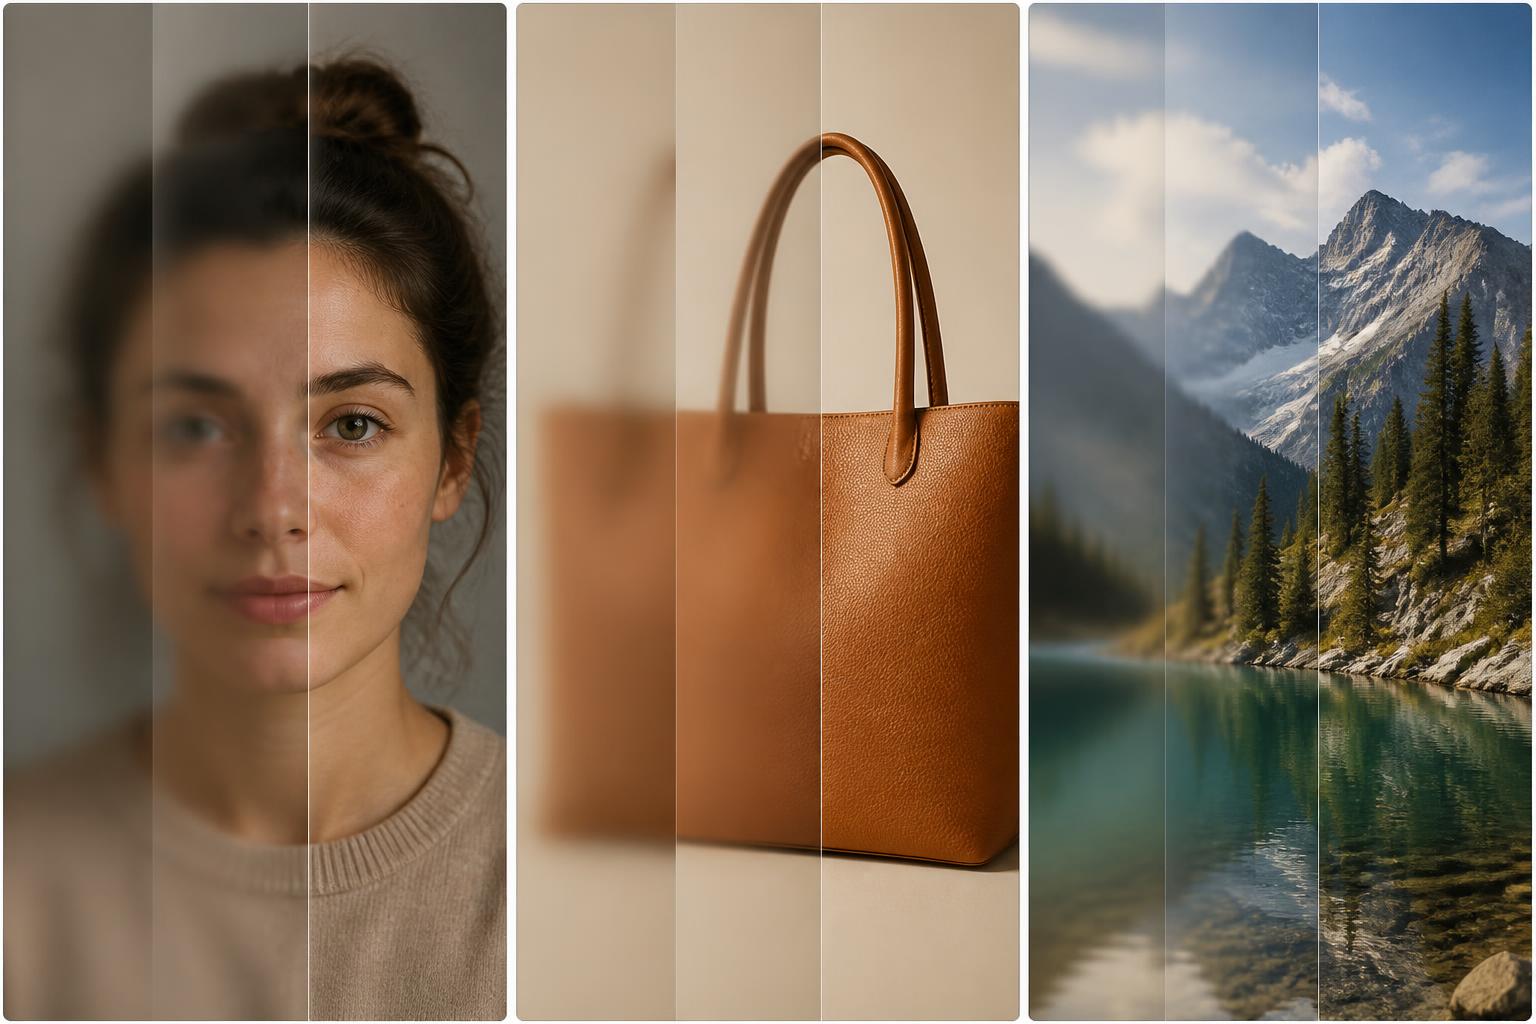
Best Use Cases For Clarity Pro Upscale Workflows
AI-Generated Images
AI-generated images often have strong composition but weak final resolution. Clarity Pro Upscaler is useful here because the image is already synthetic; a controlled layer of reconstruction usually fits the asset's nature. It can make textures richer, sharpen lighting transitions, and prepare the image for larger layouts.
Check faces, fingers, jewelry, logos, and repeated patterns after upscaling. These are the areas where creative reconstruction can look convincing at a glance but wrong under inspection.
Ecommerce And Product Marketing
Product teams can use clarity pro upscale workflows to rescue images that are visually aligned with the brand but too small for modern PDPs, collection pages, ads, or marketplace slots. It is especially helpful for lifestyle product shots, packaging photos, furniture images, fashion details, and catalog refreshes.
The limit is factual accuracy. If the product has specific stitching, engraved text, compliance markings, ingredient lists, or exact color requirements, treat the output as a retouched derivative and compare it against the original or product reference.
Portraits And Personal Branding
Portraits benefit from careful, low-to-medium creativity upscaling. The goal should be cleaner hair, skin texture, fabric, and background separation without changing the person's identity. If a face starts to look like a different person, the result has failed even if it looks sharper.
For identity-sensitive portraits, make multiple outputs and choose the one that changes the least. Do not use a high-creativity result for professional headshots, ID-style images, legal records, or any situation where likeness is the product.
Old Or Compressed Web Images
Upscaling can improve images that have been compressed, resized, or saved from older web layouts. It can reduce the feeling of softness and make the asset usable in a modern article or landing page.
But it cannot reliably restore facts that compression destroyed. Small signage, serial numbers, fine print, and distant faces should be treated as uncertain unless verified from another source.
Presentation And Content Assets
For slides, reports, and blog posts, Clarity Pro Upscaler can be a pragmatic production tool. It helps teams avoid the familiar problem of a good image looking acceptable in a thumbnail but blurry once placed into a wide layout.
This is one of the safest use cases because the image usually supports communication rather than serving as evidence. The review standard is still real: the image should look natural, not over-sharpened, plastic, or newly inconsistent.
When A Clarity Upscaler Is The Wrong Tool
Use another workflow when you need exact recovery rather than plausible enhancement. That includes legal evidence, medical imagery, scientific documentation, product compliance images, archive restoration, and any use where a changed detail could mislead someone.
You should also avoid aggressive upscaling when the input is extremely small. A 150-pixel face enlarged into a high-resolution portrait may look impressive, but most of the result is model interpretation. The more missing information the model has to invent, the more cautious your claims should be.
Finally, do not expect a creative upscaler to solve every image quality issue. Motion blur, harsh compression blocks, poor lighting, bad focus, and distorted anatomy may need separate restoration, editing, or regeneration before upscaling.
A Practical Clarity Pro Upscaler Workflow
1. Decide The Final Use Before Choosing Size
Start with the placement. A blog image, 4K background, ecommerce zoom image, and poster mockup do not need the same output. Choose a target that fits the real use, then avoid making the file larger just because the model can.
2. Clean The Source Image First
Crop, straighten, remove obvious distractions, and fix exposure before upscaling when possible. Upscaling tends to amplify what is already present. A cleaner input gives the model a better foundation and reduces cleanup afterward.
3. Start With Conservative Creativity
Run a low or medium creativity pass first. If the result is sharp enough and faithful enough, stop. If the output still looks flat, increase creativity gradually and compare the most important details side by side.
4. Inspect The Risk Areas At 100%
Check faces, hands, product edges, logos, text-like marks, repeated patterns, and reflective surfaces. Also zoom out and look at the full composition. Some artifacts are visible only when you stop inspecting details and judge the image as a whole.
5. Export For The Channel, Not For The Archive
Keep an editable master if you need future crops, but export a channel-specific final image for the web. Very large images can slow pages and create unnecessary bandwidth costs. Upscaling should improve the user experience, not make the page heavier than it needs to be.
How To Judge A Good Result
A good clarity pro upscaler result should feel sharper without announcing that it was processed. Edges should be cleaner, textures should be more believable, and the image should hold up at the intended display size. It should not look waxy, crunchy, over-detailed, or strangely redesigned.
Use this quick review checklist:
- The subject still looks like the same subject.
- Important geometry is unchanged.
- Product details are not invented or altered.
- Skin, fabric, hair, and natural textures look believable.
- Background detail supports the image without becoming noisy.
- The file size is appropriate for the final placement.
- The image still looks good after final compression.
If the image passes those checks, it is probably a good candidate for publishing. If it fails on identity, product truth, or text-like detail, regenerate with lower creativity or use a less creative enhancement workflow.
FAQ
Is Clarity Pro Upscaler The Same As Clarity Upscaler?
Not exactly. People often use "clarity upscaler" as a broad phrase for Clarity AI's upscaling tools, while Clarity Pro Upscaler refers to the Pro model variant commonly described as a photorealistic creative upscaler. In practice, choose based on the job: preserve the original as much as possible, or create a richer visual result with controlled reconstruction.
How Much Can Clarity Pro Upscaler Enlarge An Image?
The Replicate listing describes scale factors up to 16x with a megapixel ceiling. In real workflows, the better question is how large the image should be for the destination. A careful 2x or 4x result is often more useful than an oversized file that requires more review and compression.
Does It Preserve Faces And Identity?
It is designed for high identity preservation, but no creative AI upscaler should be treated as perfect. Portraits need side-by-side inspection, especially around eyes, teeth, hairlines, skin texture, and small accessories.
Is It Good For Product Images?
Yes, especially lifestyle shots, catalog refreshes, hero images, and marketing crops. Be careful with exact product markings, labels, packaging text, and geometry. If those details matter to buyers or compliance teams, verify them manually.
Can It Convert Images To 4K?
It can be part of a 4K image workflow when the source image has enough visual information and the final size makes sense. For best results, upscale first, inspect artifacts, then export to the exact dimensions needed for the placement.
Try It On A Real Image
If your image is close but not sharp enough for a larger layout, test a conservative upscale first and compare the result at the final display size. For a simple next step, use clarity pro upscaler in a 4K image conversion workflow, then review faces, product details, and file size before publishing.
